
Quilting fans find joy in making sawtooth borders. This classic design makes quilts stand out. If you’re searching for free how to make sawtooth quilt border for beginners, this guide is perfect for you.
Sawtooth borders use half-square triangles (HSTs) in rows. They add interest and complexity to quilts. You can try this creative border design in your projects.
Learning to make sawtooth borders is all about precision and fabric skills. You’ll turn simple squares into exciting borders. This boosts your quilting abilities.
Key Takeaways
- Learn fundamental sawtooth border construction techniques
- Understand half-square triangle (HST) creation methods
- Develop precise cutting and sewing skills
- Create visually dynamic quilt borders
- Explore traditional and modern quilting design principles
Understanding Sawtooth Border Basics
Quilting fans searching for a free sawtooth quilt border tutorial will find this guide helpful. It’s easy to follow and full of inspiration. The sawtooth border adds a classic and striking touch to any quilt.
What is a Sawtooth Border Design
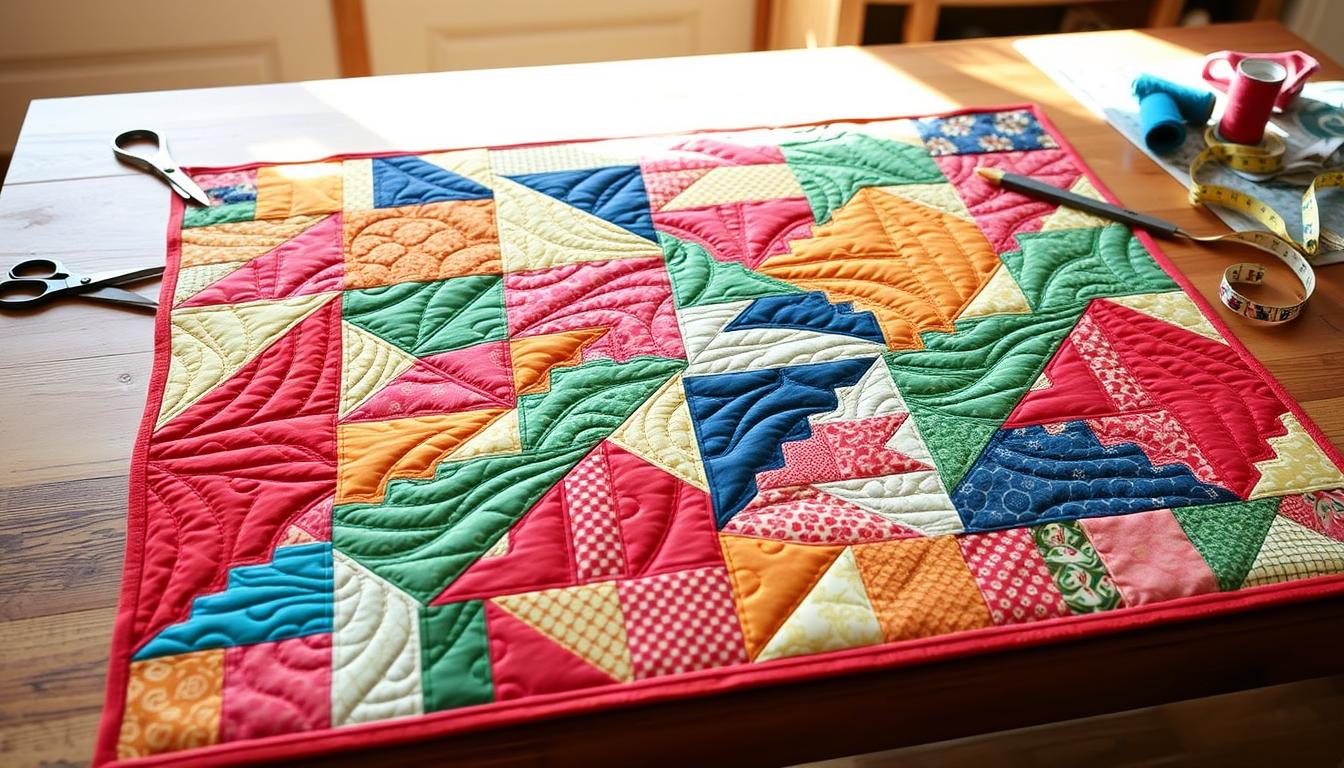
A sawtooth border makes a zigzag pattern that looks like a saw’s teeth. It has a long history, with designs like “Bear’s Paw” and “Hand of Friendship” from around 1823. This design makes quilt edges more interesting and complex.
Tools and Materials Needed
To start your sawtooth border project, you’ll need some basic tools:
- Rotary cutter
- Cutting mat
- Quilting ruler
- Iron
- Sewing machine
- Fabric scissors
Fabric Requirements and Measurements
Getting the right measurements is key for a sawtooth border. For a 72″ x 72″ throw quilt, you’ll need:
- 5 fat quarters for star points
- 4 yards of background fabric
- Seven 8.5″ x WOF strips for border
- Six 4.5″ x WOF sashing strips
Pro Tip: Using the 4-at-a-time half-square triangle (HST) method can efficiently produce four HSTs from two 7″ x 7″ fabric squares.
Always use a 1/4″ seam allowance when sewing borders. This helps make clean, mitered corners. Using spray starch when pressing can make your quilt look more professional.
Free How to Make Sawtooth Quilt Border for Beginners
Making a sawtooth quilt border can make your quilt look amazing. This free tutorial will show you how to make half-square triangles (HSTs). These triangles will make your quilt look better.

Now, let’s learn the 8-at-a-time method for HSTs. It’s great for beginners who want to make a sawtooth quilt border:
- Prepare two fabric squares of equal size
- Draw diagonal lines forming an “X” on the wrong side of one square
- Add vertical and horizontal center lines
- Stitch 1/4″ on both sides of each diagonal line
After sewing, cut along all drawn lines. This way, you can make multiple half-square triangles at once. It saves time and makes your triangles the same.
| Cutting Details | Specifications |
|---|---|
| Square Size | 3-inch x 3-inch |
| Total Squares Cut | 67 squares |
| Final HST Units | 134 units |
For the best look, press your HSTs well and trim them to 2½-inch. Check out this comprehensive paper piecing tutorial for more tips.
Pro Tip: Keep a 1/4-inch seam allowance for a professional look!
When you arrange your HSTs, mix light and dark fabrics. This makes the sawtooth pattern stand out. With practice, you’ll get good at this border technique for any quilt size.
Conclusion
Learning about sawtooth quilt borders is exciting for quilters. These borders might look hard at first, but they make your quilts look amazing. Quilting techniques like sawtooth borders need practice and patience.
The free guide we shared will help you learn each step. Remember, every good quilter started as a beginner. Each project is a chance to get better.
Don’t worry about mistakes at first. They are just part of learning. Keep practicing and trying new things. Sawtooth borders can make a simple quilt look incredible.