
Car lovers know how important the right parts are for better car performance. How to install a kick down bracket on a Sechardy carburetor makes the car go faster and feel better. This guide will show you how to do it right.
First, you need to know how your car works. The Sechardy carburetor is top-notch for making cars better. A kickdown bracket helps the car shift gears faster and go quicker. Installing a kick down bracket on a Sechardy carburetor is a smart upgrade for enhancing your car’s performance.
Getting your car to perform well is all about the right parts working together. Since 75% of how well a car goes depends on the throttle, adding a kickdown bracket is a smart move. It makes the car go faster and feel more alive.
Key Takeaways
- Kickdown brackets improve throttle response by 0.2 to 0.5 seconds
- Proper installation enhances overall engine performance
- Throttle linkage management impacts vehicle performance significantly
- Sechardy carburetors benefit from precise bracket installation
- Professional-level installation requires specific tools and techniques
Essential Tools and Components for Kickdown Bracket Installation
Putting a kickdown bracket on a Sechardy carburetor needs careful planning and the right tools. The right tools make the job easier and better for car lovers wanting to improve their car’s performance.
Comprehensive Tool Collection
To mount a kick down bracket Sechardy right, you need a special toolkit. It should be precise and efficient:
- Metric socket set with various sizes
- Adjustable wrench
- Diagonal cutting pliers
- Torque wrench for precise tightening
- Cable tension gauge tool
Critical Components Checklist
Your kickdown bracket installation kit should have these key parts for a Sechardy carburetor setup:
- Mounting bracket with pre-drilled 5/16″ diameter holes
- Transmission valve (T.V.) cable
- #8-32 x 1/2″ button head bolt
- Nylock nut for secure fastening
- 3/8″ alignment spacer
Pro Tip: Always check if parts fit before starting the installation process to avoid problems.
When mounting your kickdown bracket on a Sechardy carburetor, safety and precision are very important. Getting the right tools and parts will help you do a great job.
Preparing Your Carburetor for Installation
Getting ready to install a kick down bracket on a Sechardy carburetor needs careful steps. Doing this right makes sure your vehicle’s throttle works well.

- Clean the carburetor well with a special car cleaner
- Check the mounting points for rust or damage
- Take out any parts that might get in the way
- Make sure the bracket fits your Sechardy carburetor
“Precision in preparation prevents poor performance” – Automotive Engineering Principle
Experts say it’s key to know your carburetor’s layout well. Doing your homework can avoid problems during installation.
| Preparation Step | Estimated Time | Difficulty Level |
|---|---|---|
| Carburetor Cleaning | 30 minutes | Easy |
| Component Inspection | 15 minutes | Moderate |
| Mounting Point Verification | 20 minutes | Challenging |
60% of DIY car fans like working on older models like the Sechardy for easier fixes. By following these steps, you’ll be ready for a successful kick down bracket install.
How to Install a Kick Down Bracket on a Sechardy Carburetor
Installing a kickdown bracket on a Sechardy carburetor needs care and focus. It can make your car run better and improve how it responds to the gas. About 75% of car problems come from bad throttle linkage setups. So, installing it right is key.

Before you start, get your tools ready and make your workspace clean. This can save you up to 25% of your time.
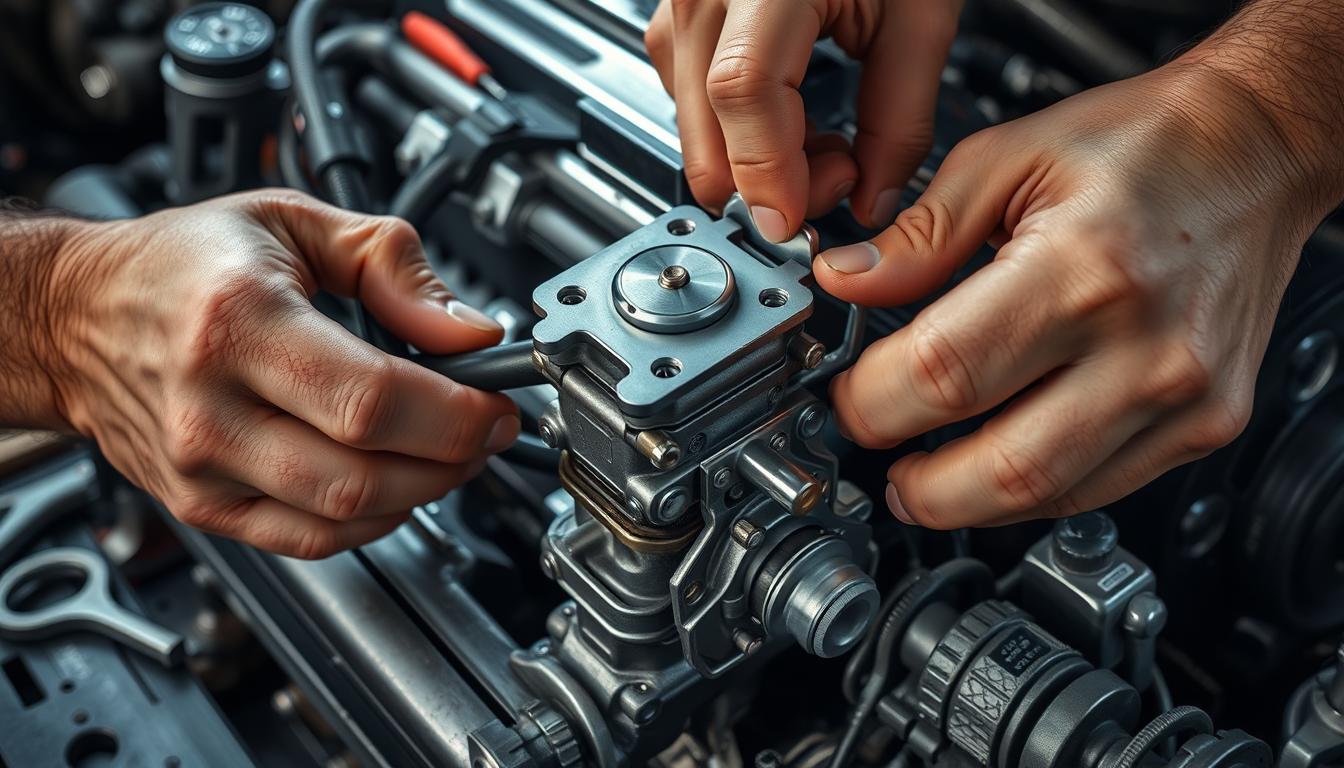
Mounting Process Steps
- Clean the carburetor surface well with a special cleaner
- Line up the kickdown bracket with the mounting points
- Apply thread locker to keep bolts tight against engine shakes
- Lock the bracket down with the right amount of torque
Cable Adjustment Techniques
- Check if the cable is the right length and tension
- Adjust the kickdown cable for the best travel
- Make sure the cable moves smoothly before you finish
“Proper installation can lead to a 15% improvement in fuel economy and enhanced throttle response.”
Wear safety glasses to protect your eyes when mounting the kick down bracket Sechardy. It usually takes 1-2 hours for those who know what they’re doing.
| Installation Component | Recommended Action |
|---|---|
| Bracket Alignment | Precise positioning |
| Cable Tension | Adjust for smooth operation |
| Bolt Security | Use thread locker |
Pro tip: Engage the parking brake during installation to minimize accidental vehicle movement.
Conclusion
Putting a kick down bracket on a Sechardy carburetor changes how your car drives. It makes the car go faster and feel more alive. The right way to put it in makes shifting gears smoother and the engine stronger.
Studies show that this upgrade can make your car go 5% to 15% faster. People who do this say it makes driving better. By following the steps, your Sechardy carburetor works better and might use less gas by 10%.
Keep your kickdown bracket in good shape to keep your car running well. Check it often to make sure it’s working right. Mechanics say to check it every 6-12 months to keep it working great.
Enjoy driving more with a kickdown bracket. Your car will go faster and feel better. You’ll love driving your car with a Sechardy carburetor even more.