
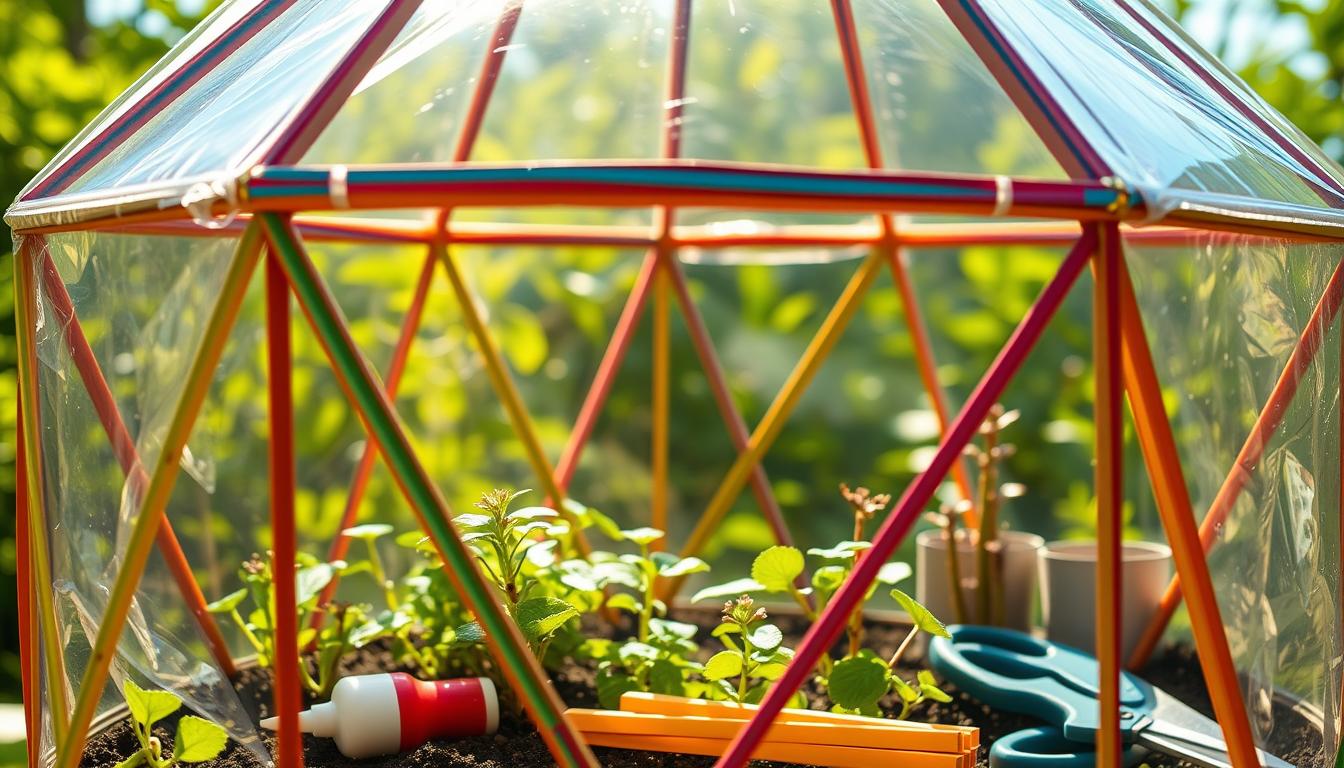
Building a DIY geodesic greenhouse with popsicle sticks is a fun and cheap way to make a small growing space. It turns simple craft stuff into a light, strong structure. It’s great for home gardeners and schools.
The DIY geodesic greenhouse design lets you grow more plants while spending less money. Popsicle sticks make a great base for a dome-shaped greenhouse with cool engineering. It’s a small greenhouse that keeps plants safe and grows them well.
Making a geodesic greenhouse with popsicle sticks is more than a weekend hobby. It’s a chance to learn about green gardening, build skills, and make a special place for plants. Its light design fits in many places, from gardens to classrooms.
Key Takeaways
- Affordable DIY project using readily available materials
- Lightweight and portable greenhouse design
- Excellent educational tool for understanding geometric structures
- Supports small-scale plant cultivation
- Flexible construction suitable for various settings
- Cost-effective alternative to traditional greenhouse options
Essential Materials and Tools for Your Geodesic Greenhouse Project
Building a geodesic greenhouse with popsicle sticks needs careful planning. You’ll use simple craft supplies to make a growing space. Sustainable garden projects like this are great for home gardeners.
For a successful greenhouse, pick the right materials and tools. Knowing what you need helps make a strong and useful structure.
Required Construction Materials
To make a geodesic greenhouse with popsicle sticks, get these materials:
- Approximately 500-800 wooden popsicle sticks
- High-strength wood glue (waterproof recommended)
- Clear plastic sheeting or greenhouse film
- Zip ties or thin wire for reinforcement
- Weather-resistant sealant
Necessary Tools List
Here are the tools you need for building your geodesic greenhouse:
- Sharp scissors or craft knife
- Ruler or measuring tape
- Cutting mat
- Protective gloves
- Safety glasses
“The right tools can transform a challenging project into an enjoyable creative experience.” – Garden Design Expert
Choose materials that are durable and cost-effective. Using recycled or salvaged materials can save money.
| Material | Estimated Cost | Quantity Needed |
|---|---|---|
| Popsicle Sticks | $10-$20 | 500-800 pieces |
| Waterproof Glue | $5-$8 | 1-2 bottles |
| Plastic Sheeting | $15-$30 | 10-15 sq ft |
With the right materials and preparation, you can build a creative geodesic greenhouse. It will show off your skills and help plants grow.
How to Make a Geodesic Greenhouse with Popsicle Sticks

Making a geodesic greenhouse with popsicle sticks is fun and precise. It turns simple sticks into a cool place for plants to grow.
To begin, you need a plan. You must know how to use shapes to make strong structures.
Preparation Steps
- Gather high-quality popsicle sticks
- Select sturdy wooden sticks without cracks
- Prepare cutting and measuring tools
- Create a workspace with good lighting
Building it means making triangles that fit together like a dome. Precision is key when cutting and joining sticks.
Construction Technique
- Create triangle base units using precise angles
- Connect triangles systematically
- Build from bottom to top gradually
- Ensure symmetrical connections
“Patience and careful alignment are the secrets to a successful geodesic greenhouse.” – Greenhouse Design Expert
When building, remember that how sticks connect is very important. Use wood glue for extra strength. Also, make sure to strengthen important spots.
Final Assembly Tips
- Check structural balance regularly
- Add transparent plastic covering
- Seal edges for weather protection
- Test stability before final installation
Your popsicle stick greenhouse will be a great place for plants. It will also show off your creative skills.
Temperature and Light Management in Your DIY Greenhouse
Creating the perfect environment is key for your DIY geodesic greenhouse popsicle sticks project. Keeping the right temperature and light will help your plants grow well in winter.

Optimal Temperature Control Methods
Managing temperature in your popsicle stick greenhouse needs careful planning. Start by watching temperatures often and use these important strategies:
- Install a small thermometer to track daily temperature changes
- Create ventilation openings to stop overheating
- Use bubble wrap or plastic sheeting for extra insulation
The aim is to keep a stable place that keeps plants safe from cold and heat. A well-designed winter greenhouse can help you get this balance right.
Light Optimization Techniques
Getting more light is key for plant growth in your DIY geodesic greenhouse. Try these methods:
- Put your greenhouse to face south for the most sunlight
- Clean the clear parts often to keep light coming in
- Use reflective materials to spread light better
“Light is the architect of plant growth, and in a small greenhouse, every ray counts.”
Your popsicle stick greenhouse can be a great place for plants to grow. Just pay attention to temperature and light.
Conclusion
Building a geodesic greenhouse with popsicle sticks is more than a craft. It’s a journey into sustainable design and creativity. This DIY project lets you see how complex shapes can be made simple. Learning to build a geodesic greenhouse can make you curious about new ways to help the environment.
This project is very flexible. You can use it in school or at home. It lets you try out different designs and learn about plants and buildings.
It’s inspired by amazing places like the Eden Project and the Biosphere of Montreal. Your small greenhouse connects you to big ideas in architecture. You learn about being green, shapes, and caring for our planet.
We want everyone to be creative and explore new ideas. Whether you’re young or old, building a geodesic greenhouse is a great way to learn. Keep trying new things, stay curious, and have fun making!