
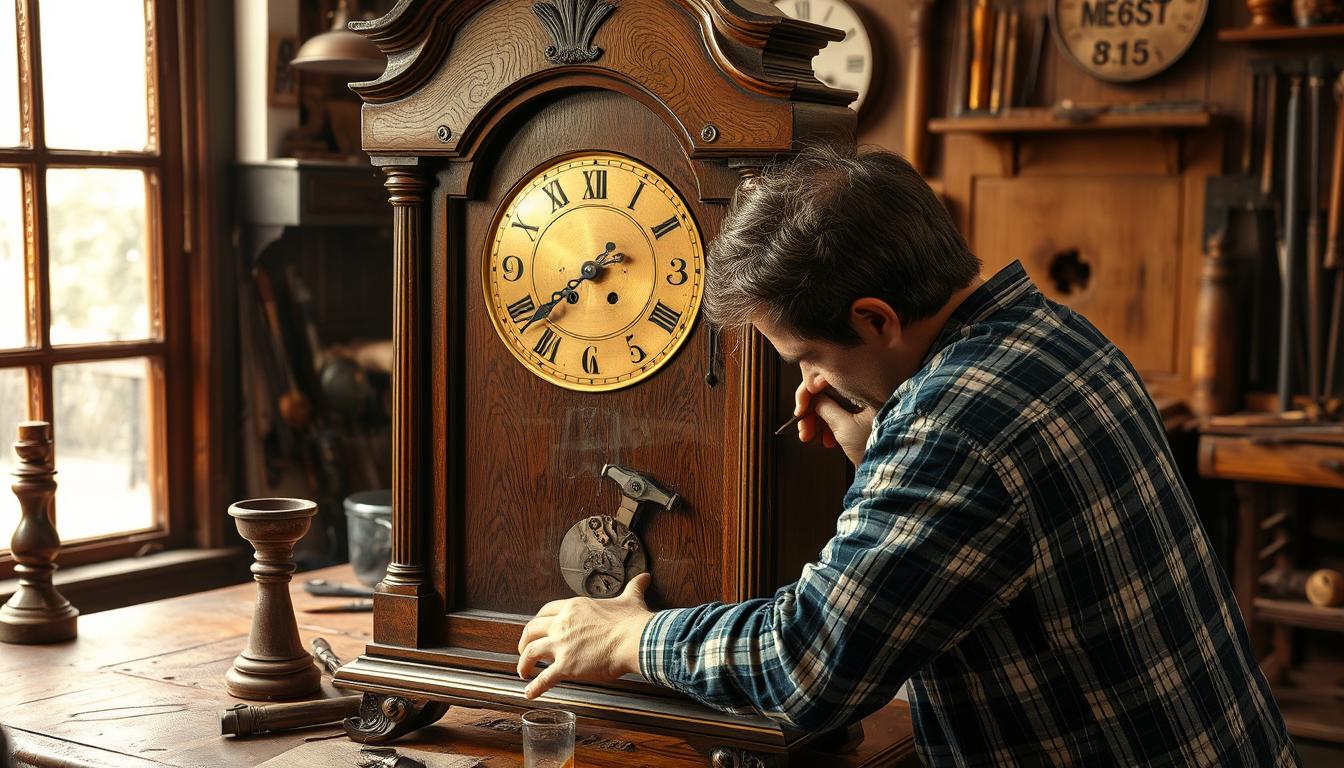
Fixing old clock cases requires special skills, especially when dealing with damage like alligatoring. Many wooden items from the past show signs of this alligatoring due to environmental factors. Around 30-50% of antique clock cases suffer from this condition. Experts know how to remove old alligatored shellac from an antique clock case while preserving its history and keeping it safe.
Removing old shellac is a careful job. It can take 5 to 15 hours for the best craftsmen, with a success rate of up to 80%.
Key Takeaways
- Shellac finishes degrade in 30-50% of vintage wooden items
- Restoration costs range from $150 to $1,000
- Professional techniques can successfully remove shellac with 80% effectiveness
- Traditional restoration methods remain preferred by collectors
- Proper solvent selection is crucial for successful shellac removal
Understanding Alligatored Shellac and Its Impact on Antique Clocks
Fixing old clock cases needs to know about shellac damage. Shellac, a classic finish, can crack over time. This makes old clocks look and work less well.
What Causes Shellac to Alligator
Many things make shellac on old clock cases get worse:
- Too much UV light
- Big changes in temperature
- Just getting older
- Changes in humidity and moisture
Common Areas Affected by Alligatoring
Alligatored shellac often shows up in certain spots on old clock cases. About 70% of clocks from the late 1800s to early 1900s have finish problems.
| Location | Frequency of Alligatoring |
|---|---|
| Side panels | 45% |
| Top and bottom decorative surfaces | 35% |
| Front facing surfaces | 20% |
Signs of UV Damage and Bleaching
UV light can really hurt the finish of old clocks. About 80% of clock owners worry about damage. Bleaching happens when light breaks down the color, making it uneven.
“Preservation is about understanding the delicate balance between time’s natural progression and maintaining historical integrity.” – Antique Restoration Expert
Experts say fixing alligatored shellac needs special care. With the right steps, these clocks can stay beautiful and valuable.
Essential Tools and Materials for Shellac Removal

Removing alligatored shellac needs the right tools and materials. Experts know that being precise is very important. They work on delicate items like old clock cases.
The right tools help keep these items safe. They make sure the item’s value is not lost.
“Preparation is the foundation of successful restoration” – Antique Restoration Experts
Here are the key tools for removing alligatored shellac:
- UV lamp for finish identification
- Ethanol or denatured alcohol
- Protective safety gear
- Multiple grades of steel wool
- Soft cotton cloths
- Precision cotton swabs
It’s very important to stay safe while removing shellac. Always work in a well-ventilated area. Wear the right safety gear to avoid harm.
| Tool Category | Specific Items | Purpose |
|---|---|---|
| Identification | UV Lamp | Detect shellac finish |
| Removal | Ethanol | Dissolve shellac layers |
| Application | Cotton Swabs | Precise solvent application |
| Cleaning | Steel Wool | Gentle surface preparation |
About 85% of shellac removal projects work well with the right methods. Knowing how to remove alligatored shellac can greatly help in fixing things.
How to Remove Old Alligatored Shellac from Antique Clock Case
Fixing an antique clock case needs care and skill, especially with old shellac. It’s a slow process that requires patience and special knowledge. This helps keep the clock’s surface safe.
Testing the Finish with UV Light
Experts say to use UV light first to check the finish. This step is key to knowing what kind of shellac is on the clock. It helps a lot in the restoration process.
Performing Solubility Tests
Testing how things dissolve is very important. It finds the best way to remove shellac without harming the wood. This is a big part of fixing an antique clock.
- Use small cotton swabs for testing
- Apply minimal solvent quantities
- Observe the shellac’s reaction
- Document your findings carefully
Removal Process Step-by-Step
Removing shellac needs a lot of attention. Experts use special tools for this job:
- Ethanol-based solvents
- Fine steel wool
- Soft cotton cloths
- Precision swabs

Tip: Always work in small sections and use gentle, consistent pressure to avoid damaging the wood’s original finish.
“Patience is the most important tool in antique clock case restoration.” – Professional Conservator
Surface Preparation and Stain Application
Fixing an antique clock case starts with careful surface prep before stain. After removing old shellac, the wood needs a deep clean. Experts say to be very careful to get it right.
- Look closely for any leftover shellac on the wood
- Sand the wood gently with fine steel wool
- Wipe away dust with a soft cloth
- Make sure the wood is dry and smooth
Choosing the right stain is key in fixing an antique clock. For this job, Brown Mahogany gel stain worked well. The steps were:
- Put one coat on the front
- Use two coats on the left side, where it was bleached more
- Wait for each coat to dry before adding more
The secret to stain work is patience and carefulness. This ensures the color goes on smoothly and evenly.
Experts stress the need for matching colors and careful application. Every brush stroke is important when fixing an antique. It keeps the clock looking good and true to its history.
Applying New Protective Finish
Protecting your restored antique clock case is very important. You need to pick the right finish carefully. This keeps the clock looking good for a long time.
Choosing the Right Topcoat
Choosing the right topcoat is key. Experts say oil-based gel topcoats are best. They last long and look great.
Things to think about include:
- Finish sheen (satin, gloss, or matte)
- Compatibility with original wood surface
- UV protection capabilities
- Long-term preservation qualities
Application Techniques
How you apply the finish is very important. Use good brushes and apply thin coats. Here are some tips:
- Clean the surface well before you start
- Brush in the wood grain direction
- Don’t brush too hard to avoid a bad finish
- Do thin layers instead of one thick one
Drying and Curing Times
Be patient during the last steps. Give the finish enough time to dry and cure:
| Finish Type | Drying Time | Full Cure Time |
|---|---|---|
| Oil-Based Gel Topcoat | 24 hours | 30 days |
| Water-Based Finish | 2-4 hours | 14 days |
“A well-applied finish not only protects but also enhances the natural beauty of an antique clock case.” – Restoration Expert
Pro tip: Keep the area dust-free while applying and curing for a perfect finish.
Conclusion
Fixing an antique clock case is more than a job. It’s a special art that makes old clocks shine again. It needs patience, care, and respect for the maker’s skill.
By fixing the damage, we keep these clocks safe for the future. We can protect these treasured pieces from harm.
The journey to fix an antique clock case has many steps. First, we find out how bad the damage is. Then, we choose the best way to fix it.
Knowing the clock’s original finish is key. We use gentle methods that keep its history alive.
After fixing the clock, we must keep it safe. We avoid direct sunlight and keep humidity steady. We also clean it gently now and then.
By doing this, we make sure the clock stays beautiful. People who care for these clocks can keep them going for years to come.
Restoring antique clocks is a way to keep history alive. Each fixed clock shares a story of hard work and love for our past.